Why Are My Patio Slabs Loose and Rocking?
If your patio slabs clunk underfoot, tip when you step on a corner, or squirt muddy water up through the joints when it rains, the bedding layer underneath has failed. The good news is that you rarely need to buy a new patio—we can almost always lift, clean, and re-bed your existing stone properly.
The Short Answer: What You Need to Know
1. Why They Come Loose
Nine times out of ten, loose natural stone slabs were laid on five spots of mortar ("dot and dab") instead of a full bed, or laid without a bonding primer. Winter frost and rainwater get into the hollow gaps underneath and break the bond.
2. Why Repointing Fails
Raking out the joints and brushing in new jointing compound will not stop a slab from rocking. The moment you step on a loose flag, it flexes and cracks the new pointing straight back out. The slab must be lifted and re-bedded.
3. How Long Repairs Take
Spot-fixing a handful of rocking slabs and repointing a patio usually takes 1 to 2 working days. Lifting, cleaning off, and relaying an entire medium-sized garden patio onto a fresh mortar bed takes around 3 to 4 days.
The Main Culprit: Spot-Bedding ("Dot and Dab") vs Full Mortar Beds
When we get called out to inspect a patio where Indian sandstone, limestone, or porcelain flags have started rocking, we almost always find the same shortcut underneath. Instead of trowelling out a solid, continuous bed of wet mortar across the whole area, the previous installer has put five blobs of mortar—one in each corner and one in the middle—and tapped the slab down onto them.
Builders call this "dot and dab" or spot-bedding. Some people do it because it is much faster to level an uneven slab on five soft blobs of mortar, and it uses half as much sand and cement. For the first few months, the patio feels solid.
The problem starts as soon as the North West weather sets in:
- Hollow voids collect water: Because up to 60% of the space underneath a spot-bedded slab is just empty air, rainwater seeps through microscopic hairline cracks in the pointing and pools in those pockets.
- Freeze-thaw heave: When temperatures drop below freezing overnight, that trapped water turns to ice and expands. It physically jacks the slab upwards by a fraction of a millimetre, snapping the weak bond on the mortar blobs.
- See-sawing and cracked corners: Once a flag detaches from two or three of its mortar spots, it starts pivoting on the middle blob like a see-saw. Every time you walk across it or place heavy garden furniture on a corner, the slab rocks, cracking the surrounding mortar joints and eventually snapping the stone itself.
The Second Cause: Skipping the SBR Bonding Slurry
Even when a patio is laid on a full bed of mortar, slabs can still come loose if they were laid dry onto the mix. Smooth-sawn sandstone, slate, and modern porcelain tiles are non-porous or dusty on the underside; wet sand and cement will not stick to them on its own. Without painting a sticky SBR (Styrene Butadiene Rubber) polymer slurry primer onto the back of each slab before laying, the stone simply sits on top of the dried mortar like a lid on a box.
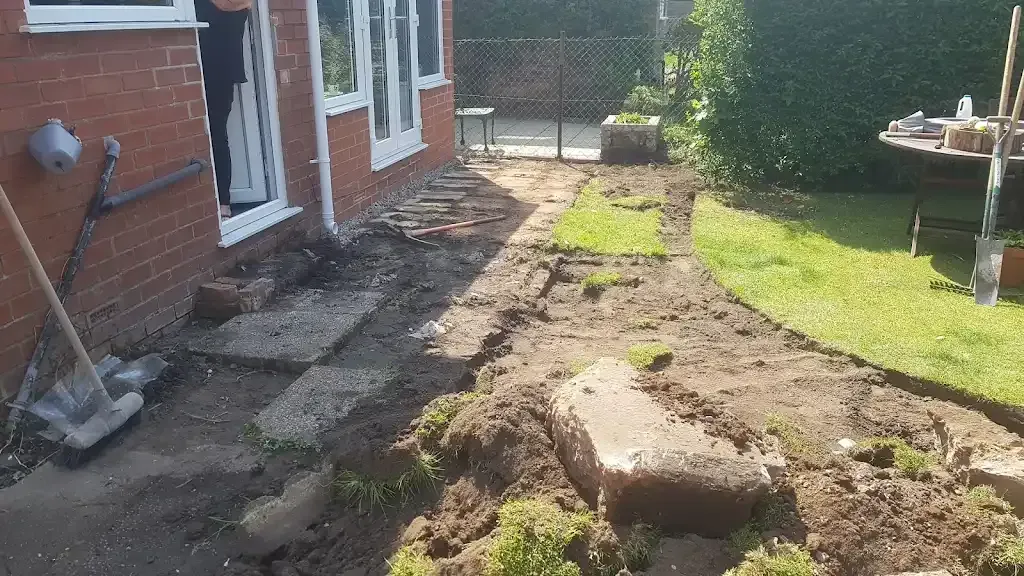
Comparison: Why Bedding Methods Matter
Failed Spot-Bedding (Dot & Dab)
Leaves hollow cavities beneath the slab. Prone to water pooling, frost heave, ant nests, rocking flags, and dark damp circles showing through porous sandstone.
Full Wet Mortar Bed + SBR Slurry
100% support across the entire underside of the slab. No air gaps for water or frost, zero flexing under foot traffic, and a permanent chemical bond between stone and base.
How We Lift, Clean, and Re-Bed Your Existing Patio Slabs
Natural stone like Indian sandstone or Yorkstone doesn't go off. Unless the slabs have been driven over and shattered into pieces, there is no reason to pay thousands of pounds for new paving materials and skip hire. Here is how we salvage and relay your existing slabs so they stay put.
Careful Lifting & Numbering
We rake out the perished pointing around the loose flags and gently prise them up using flat bars and slab lifters so the edges don't chip. On random-sized patio patterns, we chalk-number the slabs or stack them in sequence so they go back into their exact spots.
Breaking Out Old Mortar & Checking the Base
We break out the old, crumbling mortar dabs underneath using a breaker and clean the backs of your slabs with a bolster or grinder. While the stone is up, we inspect the sub-base. If it was laid straight onto soft garden soil or soggy clay, we dig it out and compact fresh MOT Type 1 hardcore in layers.
SBR Priming & Full Wet Bedding
We mix up a workable, full wet bedding mortar using sharp grit sand and cement (typically at a 4:1 ratio). Before laying each slab, we brush a coat of SBR bonding slurry across the underside of the stone. We then tap the slab down with a rubber mallet to match the surrounding levels and drainage fall.
Haunching Unsupported Edges
Slabs along the outer step of a patio—where the paving drops down onto the lawn or flowerbed—are the first to work loose if the edge isn't supported. We trowel a solid fillet of concrete haunching along the outside perimeter beneath turf level to lock those border slabs in place.
Solid Jointing & Pointing
Once the newly bedded slabs have cured firmly, we clean out the joints to a proper depth (at least 20mm) and repoint the patio using either a traditional sand-and-cement trowel finish or a high-strength, frost-resistant two-part resin mortar so surface water runs straight off to your drains.
Tidy Wash-Down & Waste Removal
We use board runs to protect your lawn while wheeling out old mortar rubble, suppress dust with water when grinding out old joints, and wash the patio down thoroughly at the end of the job. As a registered waste carrier, we take all broken mortar and spoil away with us.
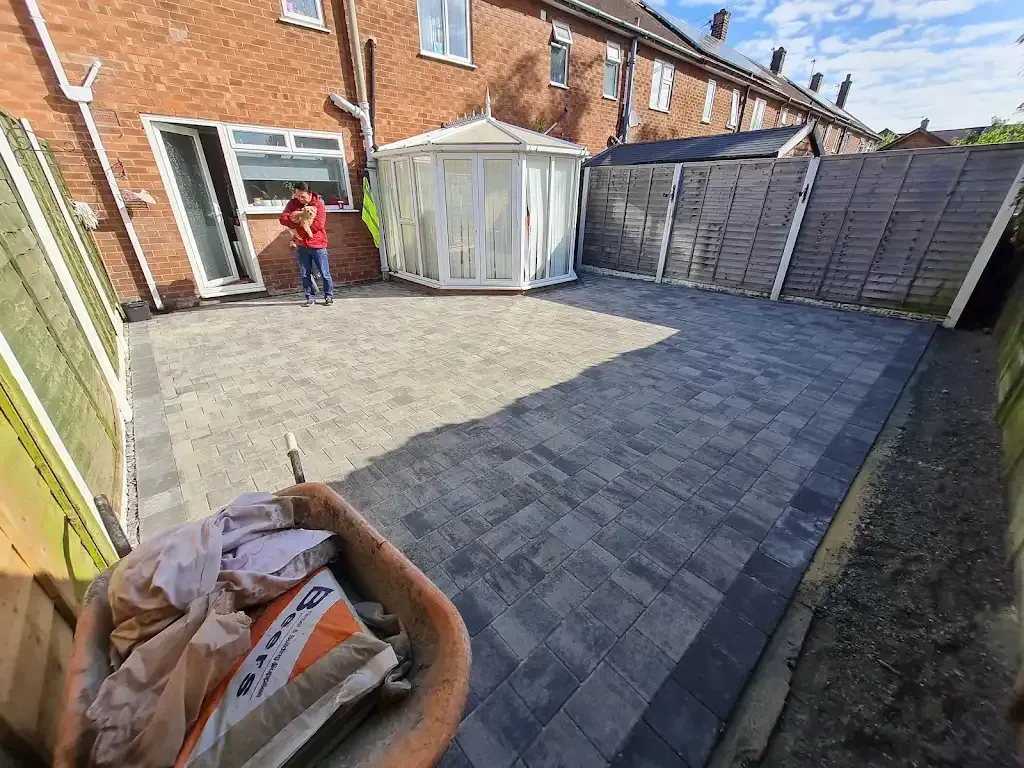
Spot Repair vs Relaying the Whole Patio: Which Makes Sense?
When we come out to give you a free written estimate, we will walk across the patio with you and test the slabs. We won't push you to relay the whole garden if only a small section has failed.
When a Targeted Repair is Best
If only 3 to 10 slabs along the step edge or by the back door are rocking—and the rest of the patio sounds solid when tapped—it is far more cost-effective to lift and re-bed just those loose flags, then repoint the surrounding joints to blend in.
When a Full Lift & Relay is Needed
If half the slabs sound hollow underneath, water is pooling toward the house brickwork, or the entire sub-base is sinking into clay soil, spot-fixing won't last. Lifting all the stone, sorting out the Type 1 sub-base and drainage falls, and relaying your original slabs on a full SBR mortar bed fixes the problem once and for all.
Want to see how we handle broader ground movement, sunken block paving, and drainage channels? Take a look at our main Paving Repairs & Releveling service page.
Related Services & Guides
Explore our hands-on paving repair services or read more practical homeowner guides.
Paving Repairs & Releveling in Stretford
Professional paving repairs in Stretford. We fix sunken block paving, cracked sub-bases, and drainage issues. Free written estimates from Insight PS.
Do I Need Planning Permission to Pave My Front Garden?
Learn the UK planning rules for paving a front garden. We explain the 5m² SuDS rule, permeable surfaces, soakaways, and council dropped kerb permits.
How Long Does It Take to Lay a New Patio?
Most garden patios take 3 to 7 working days to lay. See our day-by-day schedule covering excavation, Type 1 sub-bases, mortar bedding, and curing times.
Real Turf or Artificial Grass: Which Is Best for Clay?
Compare real turf and artificial grass on heavy clay soil. Learn about sub-base depths, drainage, pet suitability, and stopping winter waterlogging.
Are Concrete Fence Posts Better Than Wooden Ones?
Compare concrete fence posts with gravel boards against treated timber posts. Learn about lifespan, wind resistance, costs, and stopping ground-level rot.
How Do You Stop Garden Water Running Towards the House?
Learn how to stop patio and driveway water pooling against your walls using ACO channel drains, correct surface falls, and properly sited soakaways.
Need Your Loose Patio Slabs Properly Re-Bedded?
Give our team a call to arrange a straightforward site visit across South Manchester, Trafford, and surrounding areas. We will check your slabs, explain whether you need a simple spot repair or a full lift and relay, and give you an honest price in writing with no obligation.